- Go to the dashboard
- Click on the ‘Events’ on the left navigation bar
- Click on ‘Recurring Events’
- Click ‘Add Recurring Event’
- Select category, on the right side, in the ‘Event Categories’ section
- The event post can belong to many categories, click all that apply
- Add content using the visual editor
- The visual editor is your standard WYSIWYG editor and the simplest editor for just adding content to a page.
- A quick detailed guide on how to structure content
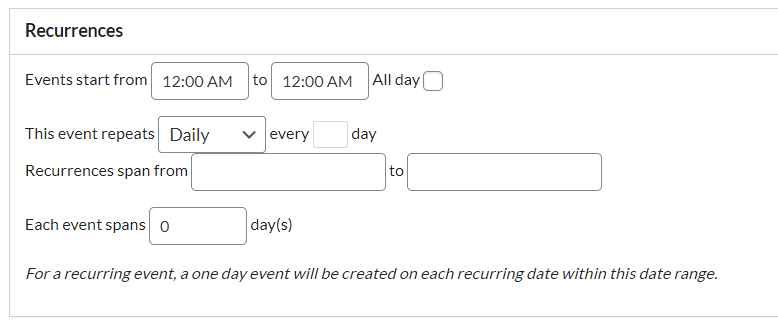
- Add the recurrences on the ‘Recurrences’ section under the visual editor.
- Add the event location in the ‘Where’ section, under the ‘Recurrences’ tab.
- If the event does not have a physical location, checkmark ‘This event does not have a physical location’
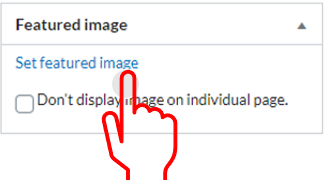
- Add a featured image that will display under the event title and as a thumbnail preview when published
- Click on the set featured image link on the “Featured image” section located by the bottom right side
- Select either upload files or media library
- Select image
- Add alt text and click on the ‘Set featured image’ button
- Click ‘Publish’
- An option to hide the image from the page will generate after clicking publish
- If you wish to hide the image within the post, checkmark the option “Don’t display image on individual page” afterward click publish to update changes.

- You created a recurring event! If a change needs to be made that applies to all event within the thread of recurring events, you can make the update by
- Clicking on the ‘Recurring Events’ option on the left navigation bar
- Selecting the event that needs to be modified and updating
- If there are modifications to event dates all recurrences of this event will be deleted and recreated, previous bookings will be deleted.
- If it is only one event that needs to update,
- Click on ‘Events’
- Select the individual recurring event and make the update
