Overview
Answers content is an interactive FAQ that displays in the service center. Our method to create answers and questions for the ProudCity service center requires the completion of the ‘Answers’ worksheet that will help you easily transition to this task.
We encourage our customers to leverage this feature by writing questions about how their site visitors and customers speak, rather than bureaucratic jargon, to help bridge the communication gap between the community and services.
Example
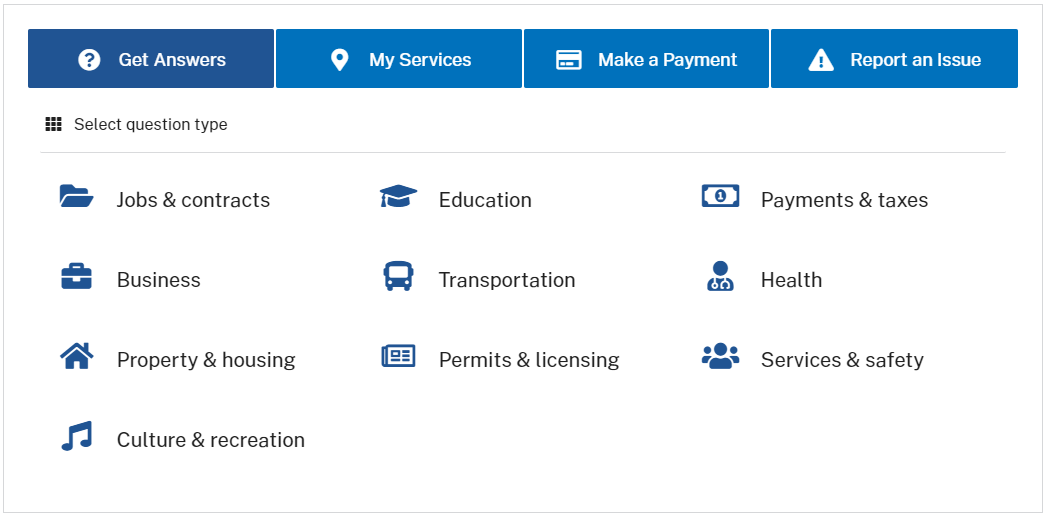
In our ProudCity demo site, we have the Service Center displaying frequently asked questions. These questions are grouped into categories to help the user find more specific answers.
Video
Steps
Create parent and child categories
Parent and child categories will display on the service center app. Building out the structure of the ‘Get Answers’ section helps if the ‘Answers’ worksheet is completed. Please take note that there are several parent and child categories already created that serve as a template. Do not recreate categories if they already exist.
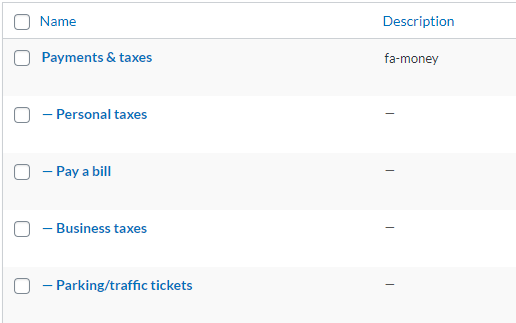
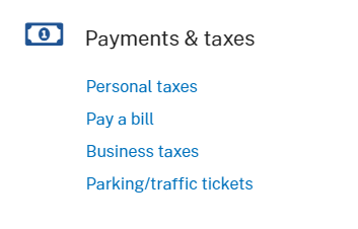
| Back end view | Front end view |
 |
 |
- Go to the dashboard
- Click on ‘Answers’ on the left navigation bar
- Click on ‘FAQ Topics’ on the left navigation bar
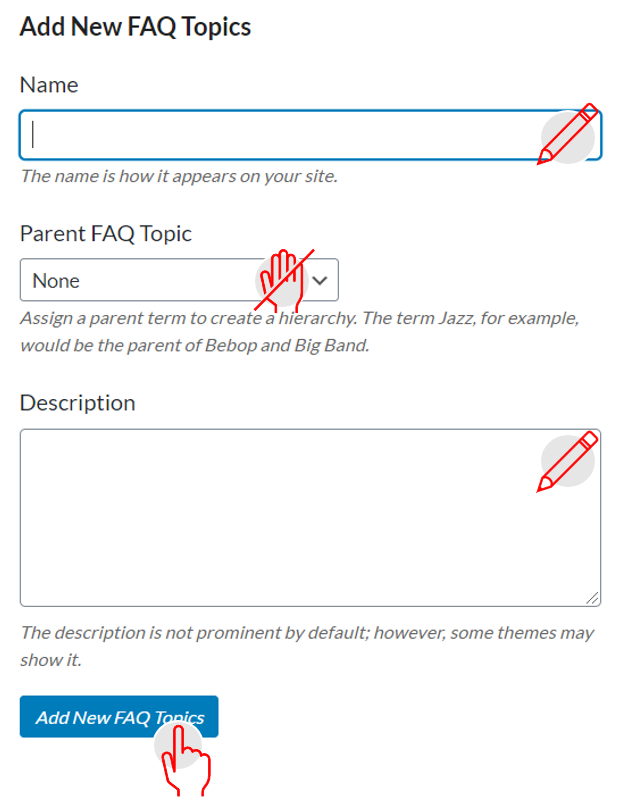
- Create a parent category
- If you have filled out the ‘Answers’ worksheet, all the H3 headings will be ‘Parent categories’
- Write the parent title in the ‘Name’ section
- Set up the icon for your parent category
- Look for icons in the fontawesome website, usually, the icons that are bold are free.
- Select icon
- Copy the code that is provided
- <i class=”fas fa-ad”></i>
- Paste it in the ‘Description’ section
- Leave only what is inside the quotes, for this example, only fas fa-ad would be left as the final description.
- Click ‘Add New FAQ Topics’
- Repeat this step to add all parent categories
- Once all are inserted, arrange them in the order they should display in the ‘Get Answers’ tab of the Service center. This step should be done before creating child categories.
- The answers content is divided into 3 columns with the rows populating depending on the total number of parent categories. The titles are organized from left to right.
- On the ‘FAQ Topics functionality’ on the right side, the list of categories is presented.
- Skip the categories that have ‘faq’ as part of their title
- The arrangement is formed in the order the parent titles are listed. For example, the first title will occupy position 1, the parent title that follows the first will occupy position 2, and so on.
-
Position 1 Position 2 Position 3 Position 4 Position 5 Position 6
- Create child category
- Remain in the ‘FAQ Topics’ functionality or navigate to the ‘FAQ Topics’ functionality
- If you have filled out the ‘Answers’ worksheet, the child categories are the subheadings to the parent category
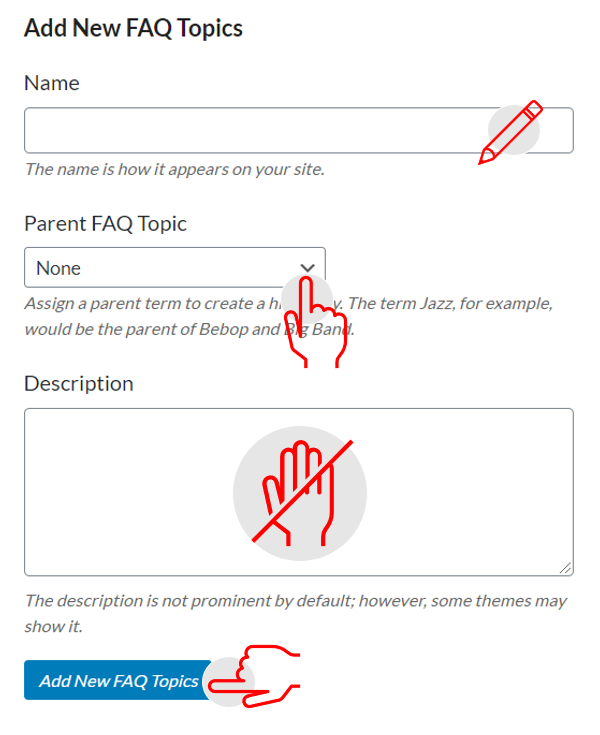
- Write the child title in the ‘Name’ section
- Click on the ‘Parent FAQ Topic’ dropdown menu
- Select the parent category the current child category falls under
- Leave the ‘Description’ section empty, this section is to be used only when creating parent categories
- Click ‘Add New FAQ Topics’
- Notice, the child category created will display with a hyphen in front of its title and be listed below the parent title.
- Repeat this step to add all child categories that fall under the parent category.
- Organize the child categories in the same order you want them to display in the ‘Get Answers’ section by dragging the title in the list view and dropping it in the desired placement.
- Make sure they remain under the same parent category when you are switching the order.
-
Back end view 
-
Front end view 
Edit existing parent and child categories
The edits made to the parent and child categories will also update on the ‘Service Center’ app.
- Remain in the ‘FAQ Topics’ functionality or navigate to the ‘FAQ Topics’ functionality
- Make word choice update
- Hover over the ‘Parent’ category or ‘Child’ category on the right-hand side where the list of all categories are displayed.
- Select edit
- Change the name and slug
- Click update
- Deleting the child category
- Hover over the child category and a delete option will appear.
- Select ‘Delete’
- To confirm the deletion of the child category, click ‘Ok’ to the notification that will appear.
- Deleting the parent category
- Deleting the parent category will not delete its child categories and will have to be done manually.
- Hover over the parent category and a delete option will appear.
- Select delete
- To confirm the deletion of the parent category, click ‘Ok’ to the notification that will appear,
- Go to step 3, and delete the child categories that are now floating under no parent category.
Create a question and answer content
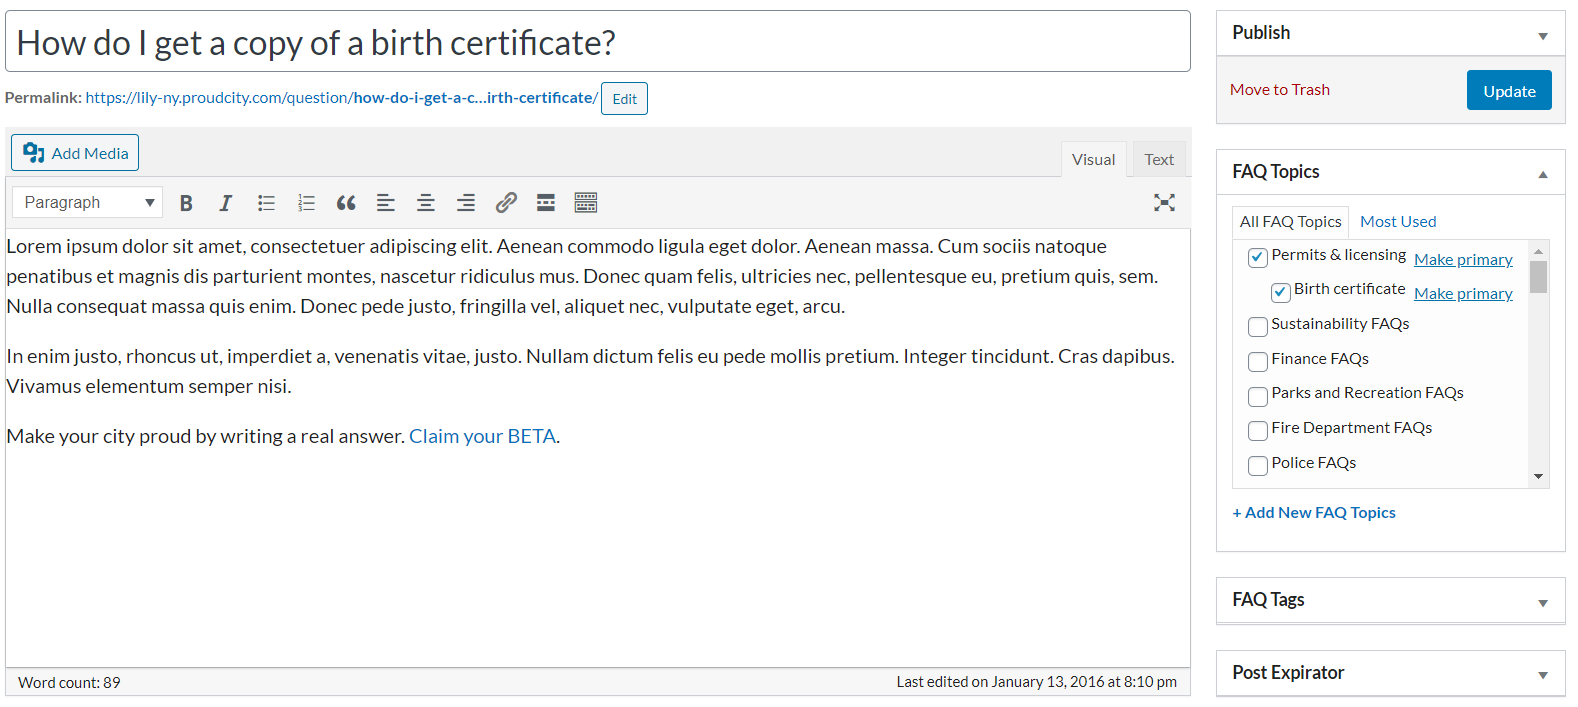
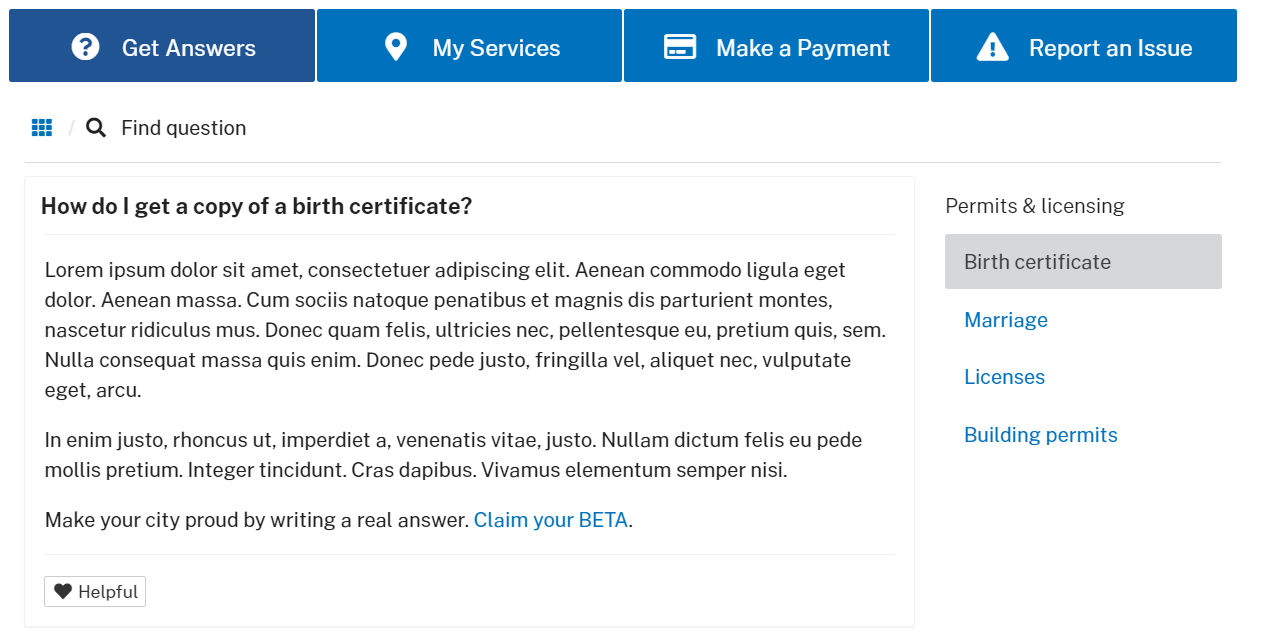
A question and answer content that will display in the Service center app has a searchable question, clear answer, and FAQ topic label which in this case is a child category.
| Back end view |
 |
| Font end view |
 |
- Go to the dashboard
- Click on the ‘Answers’ icon or the ‘Answers’ label on the left navigation bar
- Click on ‘Add New Answers’
- Enter the question in the title area
- Select the child category, on the right side, in the ‘FAQ topics’ section
- The child category will be slightly indented under a parent category title, please take note of this to confirm that you are adding the answer to a child category and not a parent.
- The answer post can belong to multiple child categories, select all that apply
- Add answer using the content using the visual editor
- Be detailed with your answers, if there are follow up action items, hyperlink to those pages or forms to keep answers content concise and direct.
- The visual editor is your standard WYSIWYG editor and the simplest editor for just adding content to a page.
- A quick detailed guide on how to structure content

- Click ‘Publish’
Edit existing question and answer
Edits made to questions and answers will also update on the ‘Service Center’ app.
- Go to the dashboard
- Click on ‘Answers’ on the left navigation bar
- On the top right side, there is an empty field to search for your question
- Type in a keyword to narrow down the list of questions to choose from
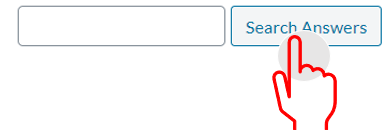
- Click ‘Search Answers’
- Hover over the answer and click ‘Edit’
- Update question title
- Type in the new question title and make sure to edit the permalink to match the updated question.
- Edit answer
- Type in the updated answer in the visual editor
- Select the ‘FAQ topics’ change or leave as is
- Click ‘Update’
Display the parent category on the service center app
The service center widget will bring together all previous steps with a visual representation of the icon, parent and child category titles, question, and answer.
- Go to the dashboard
- Click on ‘Pages’ on the left navigation bar or the “Pages’ icon
- Navigate to an existing page
- Click ‘Edit page’
- Enable page builder by clicking on the ‘Pagebuilder’ tab, if there is no option to click on the tab, the page builder layout is enabled.
- Note: In order to use the service center widget, the page builder must be enabled
- Click on the ‘Add widget’ icon tab
- Add page title by selecting the ‘Page title’ widget
- Note: You can scroll through the widgets or type in the widget name on the search bar.
- Click on the ‘Add widget’ icon tab
- Add the ‘Service Center’ widget
- Hover over the ‘Service Center’ Widget
- Click ‘Edit’
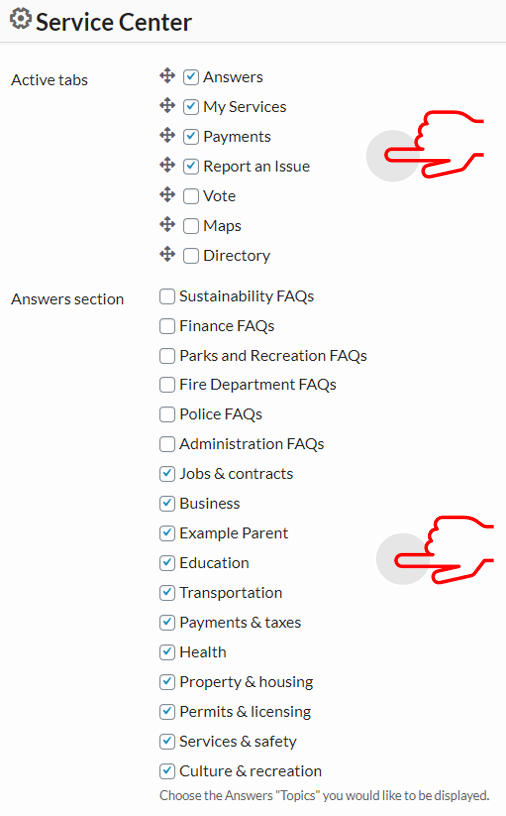
- Select the tabs to display
- Checkmark the parent category you would like to be displayed.
- Click ‘Done’
- Click ‘Update’
- Click ‘View Page’ on the top admin bar or the permalink to view the page. Note: To go back into the admin functionality click on ‘Edit Page’ on the top admin bar.
- If you would like to alter the parent or child category, please view the “Edit existing parent and child categories” section.
- To edit the question and answers content please refer to the ‘Edit existing question and answer’ section of this guide.
Do’s and don’ts
Do
- Follow the Parent, child, question and answer structure
- Answer questions thoroughly to provide clear answers to the residents.
- Collect questions and answers from those who answer the phone or have a direct insight into the questions asked, such as the front desk staff.
- Ignore any FAQ topics that have ‘faq’ as part of the category title.
- Add icon to parent category description.
- Remember to set the order of the parent categories before adding child categories.
- Select new categories in the service center widget to display to publish new content, this is often done on the homepage.
Don’t
- Assign answers content to parent categories.
- Add department as a parent category. If you want to display the questions and answers for the department please follow the ‘How to create frequently asked questions using the ‘Answers’ functionality in your ProudCity powered government website’ guide.
- Pick a parent category as the ‘FAQ topic’, make sure it’s a child category.
- Recreate categories if they already exist.
- Recreate answers if they already exist.
Resources
- How to create a page in your ProudCity powered government website
- A quick guide to government website content structure
- How to utilize the ‘Answers’ worksheet
- How to create frequently asked questions using the ‘Answers’ functionality
ProudCity is a digital government platform that makes it easy and cost-effective to launch and manage all aspects of digital government operations, including websites, meetings, online forms and payments.
Subscribe to our newsletter or connect with us on Twitter, LinkedIn and elsewhere.

