Overview
An event post will have a title, category label, featured image, location, and content. Content for events may include paragraphs, images, links, etc.
Example
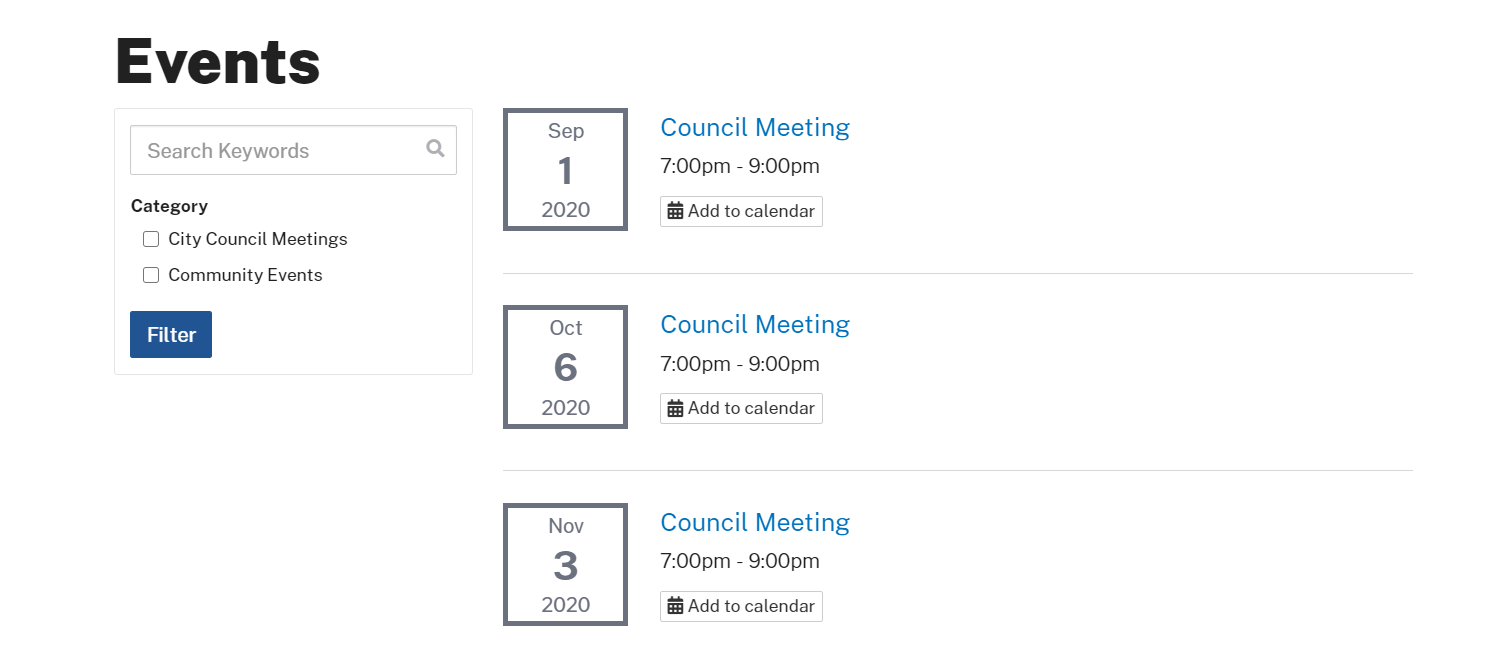
In our ProudCity demo site, we created an example event post for your viewing. After creating an event post and attributing it to an event category, the event post(s) will be displayed on the events page. Event posts can also be displayed as a list on a specific page.
Video
Steps
Create an event category
By creating event categories we are able to display a listing of specific events posts on a web page. This is the first step to creating event lists throughout your site. If you have already created an events category please skip to the “Create event post” or “Display event posts on a web page” section.
- Go to the dashboard
- Click on the ‘Events’ label on the left navigation bar
- Click on ‘Event Categories’ on the left navigation bar,
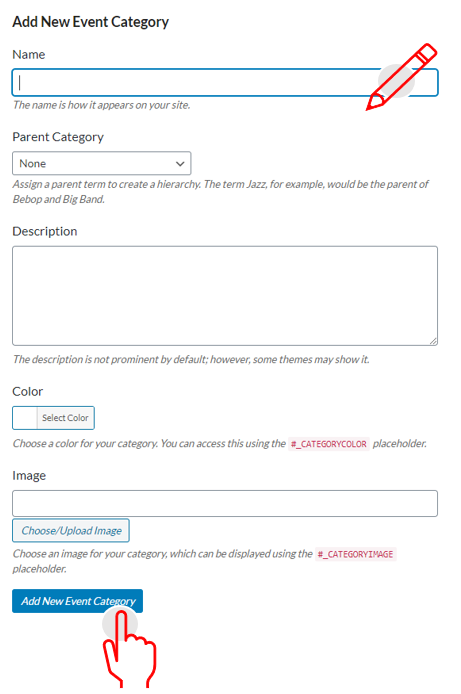
- Add new event category
- Write a name for the event category
- Leave the ‘Parent Category’ dropdown with the default text of ‘None’.
- Click ‘Add New Event Category’
Create an event post
Events will have a title, date, location, featured image, and content. Content may include paragraphs, images, links, videos, etc. If this event is recurring please skip to the “Create recurring event post” section.
- Go to the dashboard
- Click on the ‘Events’ icon or the ‘Event’ label on the left navigation bar
- Click on ‘Add Event’
- Add event title
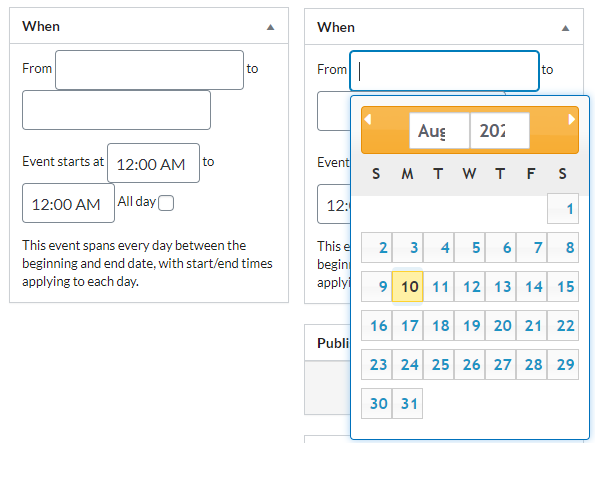
- Add When
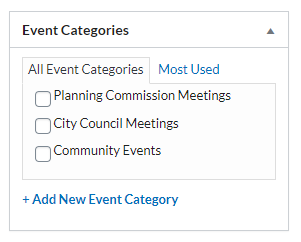
- Select category, on the right side, in the ‘Event Categories’ section
- The event post can belong to many categories, select all that apply
- Add content using the visual editor
- The visual editor is your standard WYSIWYG editor and the simplest editor for just adding content to a page.
- A quick detailed guide on how to structure content
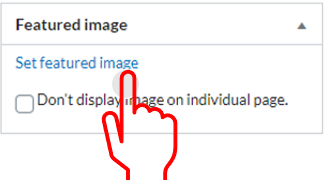
- Add a featured image that will display under the event title and as a thumbnail preview when published
- Click on the set featured image link on the “Featured image” section located by the bottom right side
- Select either upload files or media library
- Select image
- Add alt text and click on the ‘Set featured image’ button
- Click ‘Publish’
- An option to hide the image from the page will generate after clicking publish
- If you wish to hide the image within the post, checkmark the option “Don’t display image on individual page” afterward click publish to update changes.
- Add meta description and keyphrase by scrolling down and clicking on the ‘Yoast SEO’ tab
- Add focus keyphrase in the empty field titled ‘Focus keywords’ underneath the SEO, Readability, Social tabs.
- Include the keywords the page is targeting.
- Click edit snippet to add a meta description.
- Write Meta description in the empty field under ‘Meta description’.
- Close snippet editor
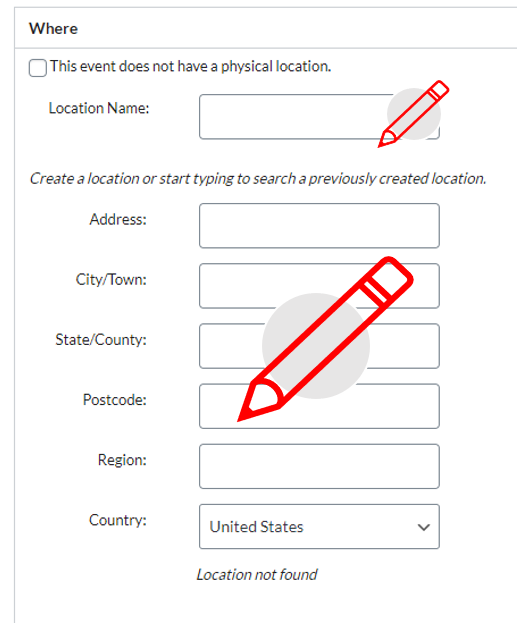
- Add the event location in the ‘Where’ section, under the YOAST SEO tab.
- If the event does not have a physical location, checkmark the box on top
- Click ‘Update’
- Click “View Event” on the top admin bar or the permalink to view the event post. Note: To go back into the event admin functionality click on ‘Edit Post’ on the top admin bar.
- You created an event post! All event posts can be found on the ‘Events’ page of your ProudCity site. If you wish to display events as lists on an existing page, move on to the section ‘ Display events on a web page’.
Create recurring event post
In this section, we will go through the steps to create a thread of recurring events. Recurring events are those that happen weekly, monthly, or daily.
- Go to the dashboard
- Click on ‘Events’ on the left navigation bar
- Click on ‘Recurring Events’
- Click ‘Add Recurring Event’
- Select category, on the right side, in the ‘Event Categories’ section
- The event post can belong to many categories, click all that apply
- Add content using the visual editor
- The visual editor is your standard WYSIWYG editor and the simplest editor for just adding content to a page.
- A quick detailed guide on how to structure content
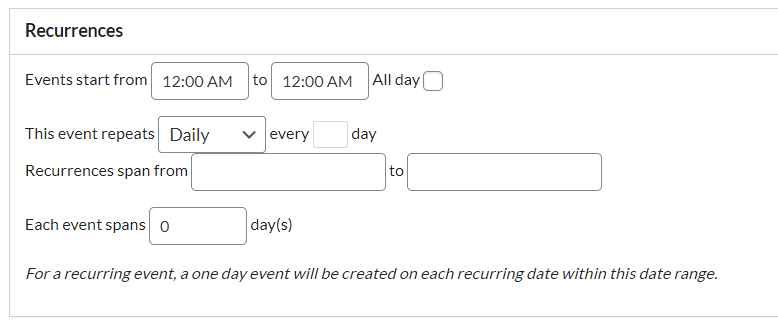
- Add the recurrences on the ‘Recurrences’ section under the visual editor.
- Add the event location in the ‘Where’ section, under the ‘Recurrences’ tab.
- If the event does not have a physical location, checkmark ‘This event does not have a physical location’
- Add a featured image that will display under the event title and as a thumbnail preview when published
- Click on the set featured image link on the “Featured image” section located by the bottom right side
- Select either upload files or media library
- Select image
- Add alt text and click on the ‘Set featured image’ button
- Click ‘Publish’
- An option to hide the image from the page will generate after clicking publish
- If you wish to hide the image within the post, checkmark the option “Don’t display image on individual page” afterward click publish to update changes.
- You created a recurring event!
Display events on a web page
The events list widget will display a list of events based on the selected categories on an existing page.
- Navigate to an existing page
- Note: You should know you are on a page when the admin bar on top states ‘Edit page’
- Click ‘Edit page’
- Enable page builder by clicking on the ‘Pagebuilder’ tab, if there is no option to click on the tab, the page builder layout is enabled.
- Note: In order to use the events list widget, the page builder has to be enabled

- Click on the ‘Add widget’ icon tab
- Add page title by selecting the ‘Page title’ widget
- Note: You can scroll through the widgets or type in the widget name on the search bar.
- Click on the ‘Add widget’ icon tab
- Add the ‘Events List’ widget
- Hover over the ‘Events Post list’ widget and click edit
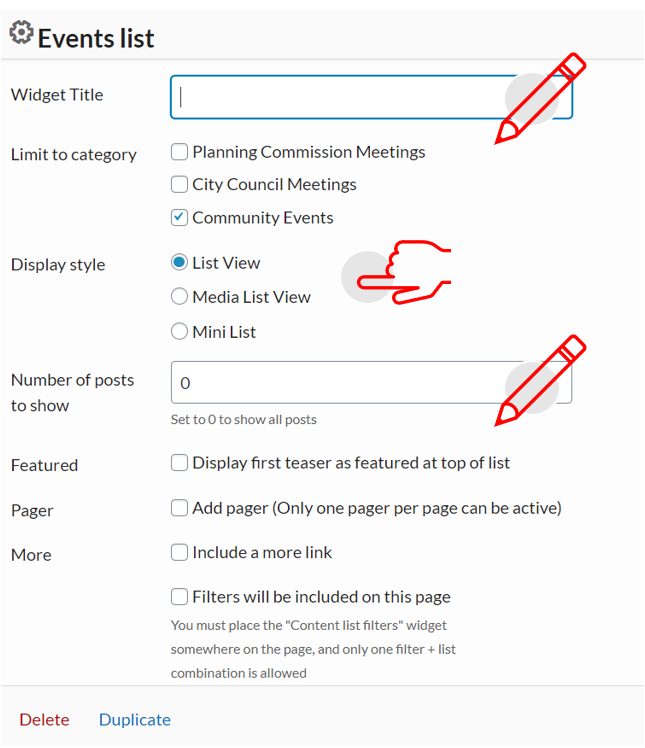
- Add widget title
- Pick the category(ies) to display
- Select display style
- events posts are commonly displayed in the ‘List View’ style but you can always go back and change the style that best matches your ProudCity site.
- Insert a number of posts to show in the ‘Number of post to show’ field
- Enter 0 for all events posts to show under the selected category type or select a specific amount to list.
- Check or unchecked
- Featured
- Pager
- More
- Click done
- Click ‘Update’
- Click ‘View Page’ on the top admin bar or the permalink to view page
- Note: To go back into the page admin functionality click on ‘Edit Page’ on the top admin bar.
- Finished, your events will now be listed on the page!
Managing recurring events
In order to manage recurring events, first, distinguish if you would like to edit all future events or a single event within the thread of recurring events. Provided are the steps for both scenarios.
- Go to the dashboard
- If a change needs to be made that applies to all recurring events, you can make the update by
- Clicking on the ‘Recurring Events’ option on the left navigation bar
- Selecting the event that needs to be modified
- Make the modification and click ‘Update’
- If there are modifications to event dates all recurrences of this event will be deleted and recreated, previous bookings will be deleted.
- If the change applies to a specific event within the thread of recurring events
- Click on ‘Events’, this will display all recurring events as individual events.
- Select the individual event and make the modifications.
- Click ‘Update’
Do’s and don’ts
Do
- Write a clear and accurate title to help site search
- Pay attention to page structure using correct headings and formatting.
- Remember if you wish to edit within the thread of recurrences, you will have to click on the ‘Events’ option and edit the individual event.
- Note: If there are modifications to event dates within the thread of recurrences, all events will be deleted and recreated, previous bookings will be deleted.
Don’t
- Leave alt text blank when adding images.
- Forget to include meta description.
Resources
- Post/Page Checklist
- How to create a page in your ProudCity-powered government website
- A quick guide to government website content structure
- A quick guide to government website images
- Guide on meta descriptions
- How to create the right Meta Description article
- What is meta description article
- How to upload images?
ProudCity is a digital government platform that makes it easy and cost-effective to launch and manage all aspects of digital government operations, including websites, meetings, online forms and payments.
Subscribe to our newsletter or connect with us on Twitter, LinkedIn and elsewhere.